


2021.03.09
2024.10.08
How to Create e-Learning Materials ④ - PowerPoint Edition -

-
Category
Recommended Articles
-
What is Vyond? Introducing the benefits of an animation video production tool that can be used for business.
-
[Animation Teaching Material Production] How to Create e-Learning Materials ②
-
How does Vyond differ from other animation production software? Comparison and recommendations
-
Can Vyond animations be used as teaching materials? Here are the benefits of using them in e-learning and training.
-
Let's create business animations with Vyond! An explanation of the reasons and benefits recommended for business, as well as challenges.
-
Vyond Go (AI Video Generation) Tips and Best Practices ① Vyond Go Setup Guidelines
-
Moodle Basic Course: What is Moodle?
-
[Moodle Basic Course] What can the e-learning management system Moodle do?
-
[Moodle Basic Course] What can be done with Moodle's default features
-
Benefits and Considerations of Moodle Cloud Services
-
Moodle is not only used by universities (widespread use)


Continuing from the last time,
・I want to challenge myself with education through e-learning, but I don't know where to start.
・I want to create the teaching materials in-house as much as possible.
We will explain about teaching material creation for those in charge of education who are considering this.
In the first session, we explained "Three Formats of e-Learning."
1.Animation (HTML5 format)
2.Video format
3. PowerPoint
This time, I will explain the overview and creation method of the teaching materials created with PowerPoint.


1. Advantages and Disadvantages of Creating e-Learning Materials with PowerPoint
PowerPoint is the easiest way to create e-learning materials.
The time from the start of manuscript creation to delivery is relatively short, which reduces costs.
Therefore, it is suitable for materials that need to be updated frequently or for sharing information that needs to be disseminated quickly.
For example, this includes laws and regulations that undergo regular revisions, as well as updates to internal systems and rules.
Additionally, if there are existing materials for group training, utilizing those assets can make the creation of materials more efficient.
In PowerPoint, you can add animations and narration. You can record movements such as displaying bullet points in order and emphasizing them according to the narration, and export it in video format.
Additionally, by embedding a video within the slides, you can also play the video within the teaching materials.
Points to Note
When the narration becomes lengthy or the number of pages increases, it can become cumbersome to create solely with PowerPoint.
Additionally, there may be movements that cannot be achieved in video format (e.g., implementing interactivity that progresses based on learner actions).
In such cases, we combine PowerPoint with e-learning creation tools like iSpring.
By combining PowerPoint with these tools, it is possible to achieve precise synchronization of narration and on-screen movements, allow learners to interact (interactivity), and create quizzes.
You can choose from multiple export formats, including HTML5 format.
About Each File Format
| File Format | Overview | Tools |
|---|---|---|
| Video (*.mp4 or *.wmv) | Export from PowerPoint to video format for distribution. Animation effects and narration are available. | Microsoft PowerPoint |
| html5 | How to combine PowerPoint and tools. Export and deliver in HTML5 format. Relatively complex effects, detailed narration synchronization, and implementation of interactivity are possible. Depending on the tool, it is also possible to create quizzes and branching stories. |
Microsoft PowerPoint, iSpring, Adobe Presenter, etc. |
Depending on the type of LMS and the delivery method, it may be possible to deliver PowerPoint format (*.pptx, *.ppt) files as they are. However, please pay attention to the following points.
- ・Even if animations are set, it is not guaranteed that learners will view it in a slideshow format.
- ・Depending on the learner's environment, there may be cases where files cannot be viewed (such as when PowerPoint is not installed)
- ・Learners can freely modify and alter
2. Tool "iSpring" used in combination with PowerPoint
A representative tool that can be combined with PowerPoint to create e-learning materials is "iSpring."
iSpring is used as an add-in software for PowerPoint.
By using iSpring, you can make detailed adjustments and modifications to narration and animations using the timeline.
If you are only using PowerPoint, you will need to run the slideshow and record it. Therefore, if modifications occur, you will need to redo the recording of the slideshow from the beginning, slide by slide.
In the tool, replacing narration files only requires specifying the file, and the timing of animations can be adjusted through drag operations and other methods.
Additionally, it includes a quiz generation tool and a screen capture tool (a tool for recording operations on the screen), and you can also choose the format and layout of the teaching materials.
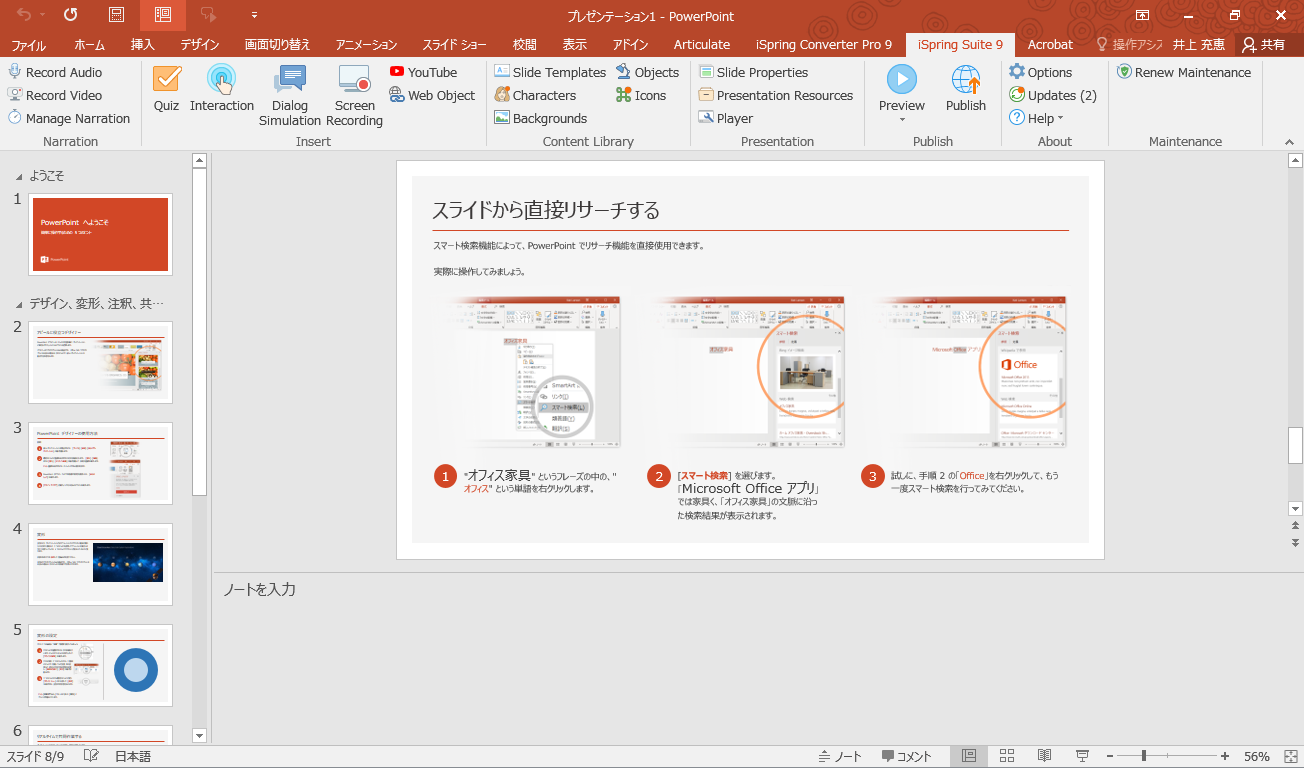
iSpring operates from the PowerPoint tab
> Related Column: What is iSpring Suite? Introducing Features, Pricing, and Implementation Benefits
> Create Rich e-Learning Materials with Familiar PowerPoint - iSpring Implementation Support
3. How to Create e-Learning Materials Using PowerPoint
We will explain how to create educational materials in video format from PowerPoint.
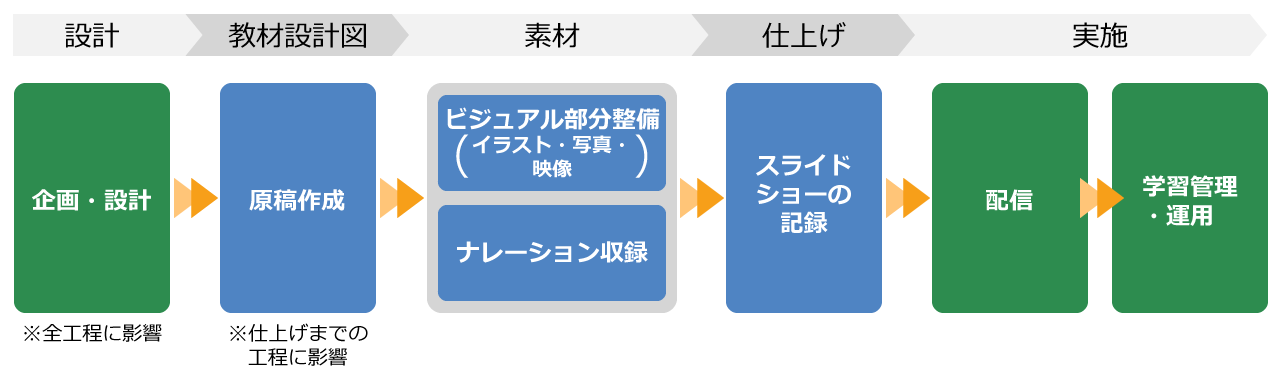
Step 1. Planning and Design
This is the process of finalizing the specifications of the teaching materials, such as functions, structural design, and delivery methods.
By carrying out this process thoroughly and without contradictions, each stage can proceed smoothly and efficiently.
File formats and slide sizes are also determined at this stage.
Step 2. Manuscript Creation
The "slide" in PowerPoint is the part displayed on the screen. Learners consider viewing the screen for learning and decide on font size and layout.
If adding narration, it is convenient to write it in the "notes" section.
If not adding narration, the slide should be constructed to convey the message through explanations, images, and movements on the slide alone.
Once the elements and narration to be placed on the slide are decided, we will determine how to move them.
Even if there is no narration, we will devise movements such as displaying in order and the timing of those displays. Since it will proceed without narration, please ensure that it is displayed in the order that needs to be explained and consider the timing for reading the text.
It is also possible to proceed with still images without any animation.
When adding narration, it is useful to determine the timing of movements based on the narration. You can also create a presentation where there are no movements within the slide, and transition to the next slide after the narration ends (still image + narration).
It is convenient to leave notes in the "Notebook" for the production plan.
If you have materials for visual elements such as illustrations, photos, and videos, you can add animation effects in this process.
The details about animation effects will be described later.
Step 3. Preparation of Visual Materials (Illustrations, Photos, Videos)
When creating slides, in addition to using PowerPoint's drawing tools to create diagrams, we prepare materials such as illustrations, photos, and videos as needed.
Materials can be purchased from specialized vendors like pixta and Afro, or downloaded from sites that offer free illustration resources.
For videos, for example, if we have video files that were shown during group training, we can embed them in the slides for playback within the teaching materials.
Step 4. Narration Recording
For materials with narration, we will conduct narration recording.
We will consider whether to request a professional narrator or have an instructor from group training or an employee from the education department handle it, and proceed accordingly.
By the way, PowerPoint has a feature that allows you to record narration simultaneously when you are recording a "Slide Show." You can use it by connecting a microphone to your computer. If you use this feature, please record the narration at the timing of "Step 5. Recording the Slide Show." This is suitable for simple materials with just a few pages, or when prioritizing deadlines and not needing maintenance after completion.
However, since there is a possibility of NG takes occurring and having narration as audio material allows for more flexibility, it is recommended to record the narration in advance.
If you have it as audio material, you can reuse unchanged parts during revisions of the materials or replace only certain parts through editing, which reduces the burden during corrections. Additionally, even if you end up creating materials using tools other than PowerPoint, it can be utilized as a material file.
Narration can also be done using synthesized speech.
In the case of synthesized speech, make sure to create the audio file while checking whether it reads correctly.
Step 5. Recording the Slideshow
Once the manuscript and materials are ready, we will finalize the PowerPoint file.
Narration data will be inserted into each slide.
Also, let's add animation effects based on the direction instructions.
Here are some points to consider when setting up animations.
- ・Narrow down the types to use
- ・Choose simple actions as a principle
- ・Utilize the Effect Options
PowerPoint animations are categorized into "Start", "Emphasis", and "End". Each category has various movements available, but it is recommended to limit the effects used in "Start", "Emphasis", and "End" to 1-2 types each. Furthermore, it is advisable to choose simple effects in principle.
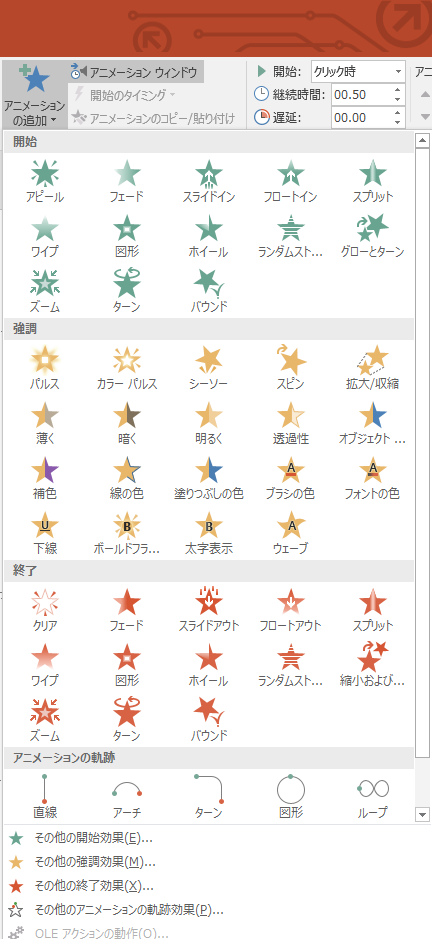
Limiting the types used creates a sense of unity, which can give a sophisticated impression. Additionally, if the movements are too flashy, they may draw attention away from the learning content, so it is best to avoid that.
However, for the most important points or at critical moments, you can intentionally use effects that are not used elsewhere to make an impression. Especially in educational materials that include promotional elements, it may be better to intentionally use flashy movements.
Additionally, animations will not use the default settings, but will utilize the "Effect Options" as needed. If left at the default settings, they may display in the reverse order of the explanation or move too quickly/slowly.
By selecting "Effect Options" from the "Animation Pane" and opening the dialog box, detailed settings can be configured.
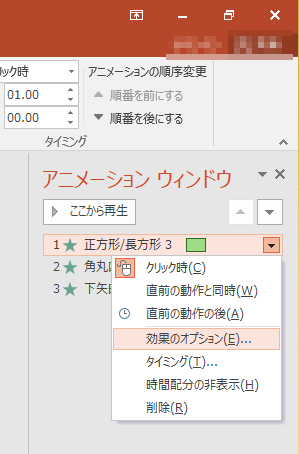
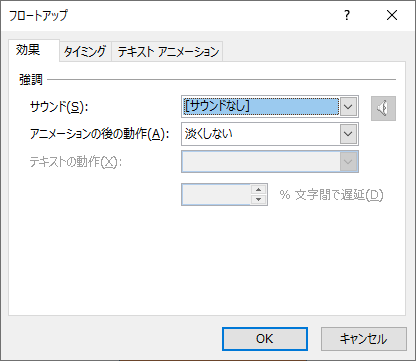
The tabs and items displayed vary depending on the type of animation.
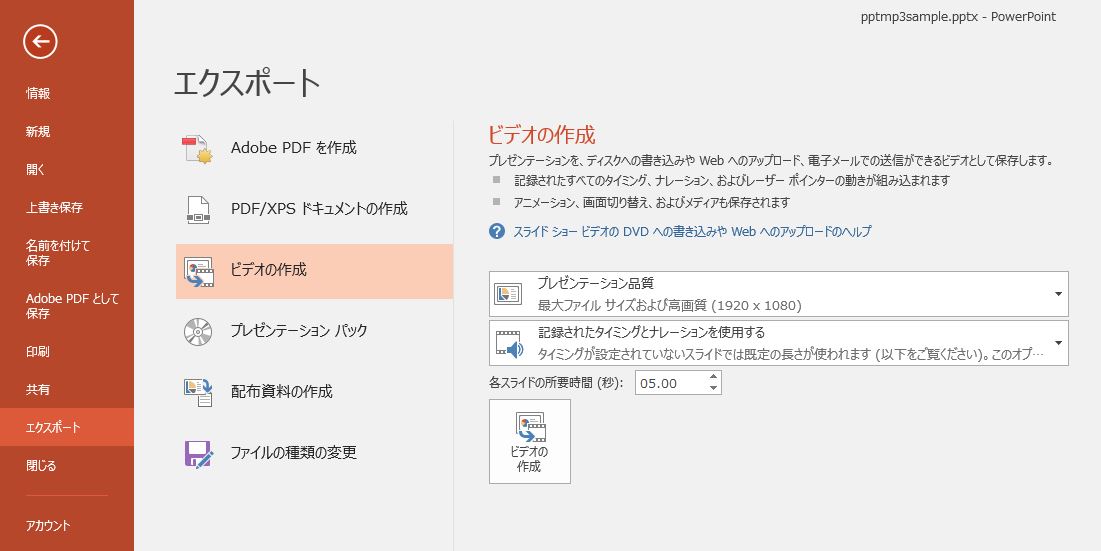
Once the slides are complete, use the "Record Slide Show" feature to record the slideshow according to the direction instructions devised in "Step 2. Script Creation."
When recording the slideshow, make sure to utilize the direction instructions and timing notes you have written in the "Notes."
Once all recordings are complete, select "Create Video" from "Export" to export the video.
If you select "Use recorded timing and narration," the video will be created as recorded in the "Slide Show Recording."
Step 6. Delivery
The created files will be SCORM-compliant and integrated according to each LMS.
[Reference] When using iSpring
When combining PowerPoint and iSpring, the processes such as script creation and material preparation are almost the same.
In iSpring, the text written in the "Notes" can be used as subtitles. In "Step 2. Script Creation," there may be notes for direction instructions, so please edit as necessary.
Animation effects will be applied using PowerPoint features.
Loading narration and adjusting animation timing will utilize iSpring's features.
Additionally, we will implement interactivity and create tests as needed.
Finally, after setting the export format and communication with the LMS, you will perform the export (publish).
In iSpring, you can choose not only video formats but also HTML5 formats. Additionally, SCORM can be exported according to the specified settings, making it convenient.
4. Summary
So far, we have explained how to create e-learning materials in four sessions.
When actually creating them, please choose the file formats and tools based on the following points.
- ・Teaching Materials・Theme
- ・Your materials, equipment, and tools
- ・Creation Period (Deadline)
- ・Personnel and skills available for creation, supervisors
- ・Compatibility of the LMS being used (which file formats are supported)
- ・Cost of equipment and editing software for narration recording, such as iSpring (only if necessary)
- ・Cost of utilizing external resources (such as illustrations and professional narrators) if necessary
As mentioned above, even if it is only part of the process or just the materials, utilizing external resources as appropriate can help create better teaching materials more efficiently.
When using external resources, the more specific the following items are, the quicker you can create the desired teaching materials.
- ・Content of the materials, curriculum, structure
- ・Learning Objectives (The ideal state of learners after completion, creation policy and direction)
- ・Finished image (desired type of teaching material)
Furthermore,
- ・Draft
We would be grateful if you could take on the challenge while confirming the matters we have explained so far.
Author:
Shizuko Sase
Education Solutions Department Production Group Writer
After joining Human Science, worked as a technical writer,
gaining experience in the design and writing of product manuals and business manuals.
Subsequently engaged in writing and production direction of e-learning materials.
Involved in the production of approximately 200 educational materials so far.
Contact Information:
Phone Number: 03-5321-3111
hsweb_inquiry@science.co.jp
Understand the Features and Usage of iSpring Suite / iSpring Suite AI!Comprehensive iSpring Guide
This section introduces the overview and usage of the animation teaching material production tool "iSpring."
This book provides a complete understanding of iSpring. You will also have an image of the teaching material production after implementation.
【Contents】
- What is iSpring Suite / iSpring Suite AI
- How to create teaching materials using iSpring Suite / iSpring Suite AI
- Overview and utilization of iSpring Suite AI
- Features of iSpring Suite AI
- Specific Usage of iSpring Suite AI
- iSpring Suite AI Certified Resellers
- Introduction to Human Science